Install BlenderVR (manual)
In order to install BlenderVR you need this guide.
Tip
Windows “standard” (non-developpers) users are invited to download the BlenderVR Install Excecutable for Windows 7 (though you are still advised to read through the following installation and how to use guides). See the Install BlenderVR (automatic) page.
Note
If you need the full development setup make sure to follow the Development Environment guide.
Document Sections
Folder Structure
After all the downloads and installations you should end up with the following folder structure. This is a recommendation, and it will be used as reference along this manual (the directory holding these files is referred as $INSTALL_DIR in the next sections).
//source/ BlenderVR Source Code
//blender/ Blender Binaries
//samples/ BlenderVR Samples
//venv/ Python Virtual Environment
Acquiring Blender
BlenderVR requires Blender 2.75 or newer. Optionally you can use a patched version of Blender 2.74 available here for all the supported platforms.
- Mac OSX 64 bit: Blender 2.74 Patched. [1]
- Windows 32 bit: Blender 2.74 Patched. [2]
- Windows 64 bit: Blender 2.74 Patched. [2]
- Linux 32 bit: Blender 2.74 Patched. [3]
- Linux 64 bit: Blender 2.74 Patched. [3]
| [1] | Requires Mac OSX 10.6+ |
| [2] | (1, 2) Compatible with Windows 8, 7, Vista. If Blender reports an error on startup, please install the Visual C++ 2013 Redistributable Package. |
| [3] | (1, 2) Requires glibc 2.11. Suits most recent GNU/Linux distributions |
Acquiring BlenderVR
- BlenderVR Sources (download and unzip in the top folder, rename it source)
- Oculus Library (download and unzip it inside the source/libs folder, rename it python-ovrsdk)
Download Samples Scenes
Before getting started, you’ll probably want to take a look at the available BlenderVR ”.blend” sample scenes.
- Download All Samples
You can also download an individual sample folder. For that you will need SVN or SVN Tortoise (Windows only). To check which samples are available visit the Samples Repository.
$ cd $INSTALL_DIR
$ mkdir -p samples
$ svn checkout https://github.com/BlenderVR/samples/trunk/basic/basic samples/
(Or simply svn checkout the required sample with SVN Tortoise).
Install Dependencies
Install those packages or make sure you have them in your system.
All Time Mandatory
Future developments will make the following packages optional:
- QT 4.8
- PIP (the Python install should have installed pip, try to use it in the next Section before installing)
Note
MacOS: open Qt.mpkg with mouse right click -> Open, to avoid popup window “can’t install, non identified developer”.
Quick Setup
Type the following commands in your terminal. If you are in Windows we recommend you to use Power Shell or similar.
On OSX/Linux:
$ cd $INSTALL_DIR
$ pip3 install virtualenv
$ pyvenv venv
$ source venv/bin/activate
$ pip3 install -r source/requirements.txt
At that point, if the console does not show any trace of pyside_postinstall.py script execution, type in:
$ python ./venv/bin/pyside_postinstall.py -install
Note
MacOS: running these lines may popup window “download the command line developer tools”, go for it.
Linux: If the “pyvenv venv” command fails, you can try the command “pyvenv-3.4 venv”.
Linux: If pyvenv command fails due to mising ensurepip module, try this script .
On Windows:
$ cd $INSTALL_DIR
$ pip3 install virtualenv
$ virtualenv venv
$ .\venv\Scripts\activate
$ pip3 install -r source\requirements.txt
$ python3 .\venv\Scripts\pyside_postinstall.py -install
$ python3 .\source\blendervr
You may have to add the path to the python binary, e.g.
$ [Environment]::SetEnvironmentVariable("Path", "$env:Path;C:\Python34\;C:\Python34\Scripts\")
(For PowerShell to automatically add this path at startup, add this line to a file named e.g. profile.ps1 that you’ll place in your WindowsPowerShell directory)
Running
Type the following commands in your terminal. If you are in Windows we recommend you to use Power Shell or similar.
On OSX/Linux:
$ cd $INSTALL_DIR
$ source venv/bin/activate
$ ./source/blendervr
On Windows:
$ cd $INSTALL_DIR
$ .\venv\Scripts\activate
$ python3 .\source\blendervr
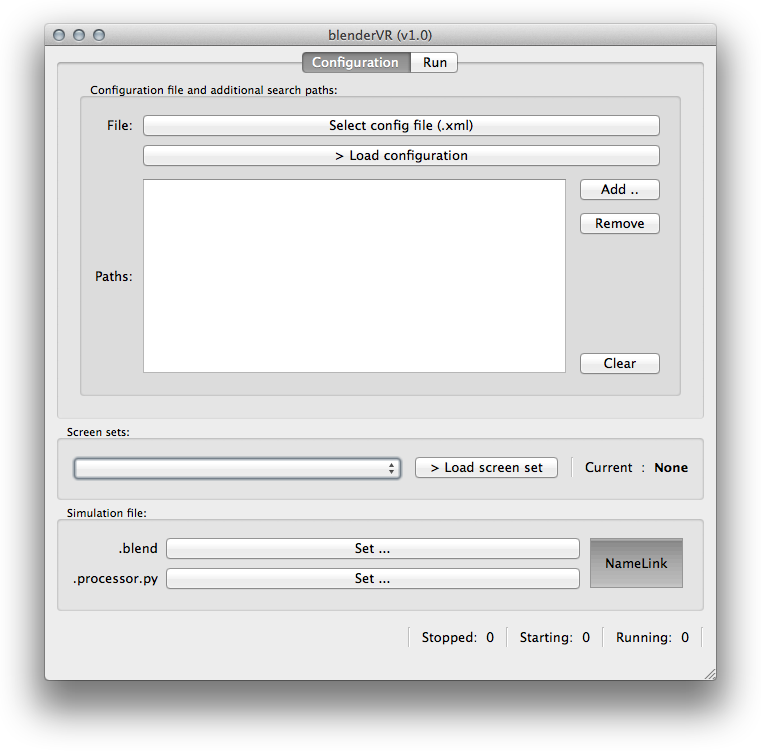
You should now see the BlenderVR window popping up (see figure below). Congratulations your installation was a success!
Once you are done running BlenderVR you can end the virtual environment running the command:
$ deactivate
For your convenience it is recommended to create a bash script to help re-launching the BlenderVR environment.